If you’ve ever had a car with Homelink, and you’re like me, you loved it. I recently purchased a new Nissan Cube and, while very unique, they are a bit light on the options. Don’t get me wrong, I love the new car it’s odd and misshapen not unlike myself. I tend to gravitate to strange unconventional things but that’s another story.
I was looking for some fun unique ways to use RFID in the garage door opener space and quickly realized that, unless I had my checkbook handy, this was not going to happen. After talking to a friend, with a similarly unique Scion XB he mentioned that he just hacked up his garage door opener and got a little creative with that approach. That was all I need to get the wheels turning so here’s the story of the birth of Jank Homelink on a Budget.
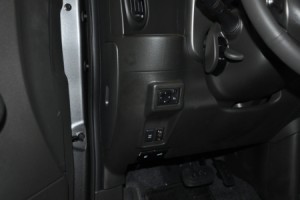
On the cube, just down by your left knee if you’re sitting in the drivers seat, (left hand drive model of course) there is switch labeled “VDC”. Next to that is a blank plug just dying to be used for something. I removed the fuse box cover, on the left side of the dash just inside the door, and I could slip a screw driver in there to release the clip for the blank plug. Then just push it in (from the front) and it falls out the back. Getting it back in, with the switches and wires, was a little tricky but seemed to work OK. I had some small push button switches that I had purchased in a lot from Ebay some time back. You can buy these switches for .35 from Sparkfun.
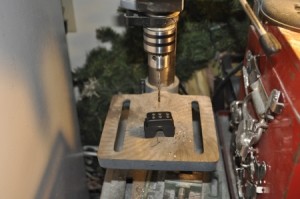
First step was to align the switches on the plug to center them as much as possible. Then I drilled them out. I would have done the holes a bit smaller if I had it to do over again. Here is a shot of the plug drilled for three switches. (Click the photo for a closeup picture)
Here is another shot of it drilled.
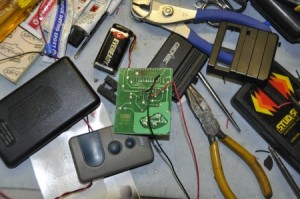
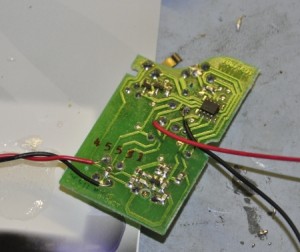
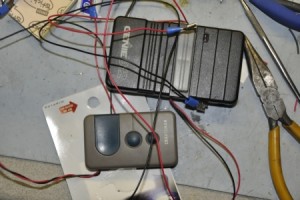
I had two openers. One was for the front gate of the house and the other was for the garage. The openers at the house are the Sears type that use rolling codes. The push button switches on those boards were four pin but any two pins would activate the switch. I just took a piece of wire and touched two of the switch leads at a time and any two activated the door. The Genie opener (for the front gate) is the old style with jumper switches to set the code and only two of the pins on that board activated the opener. Here are close ups of both with the wires soldered on. Be careful on the Sears models as they have some surface mount parts very close to where you are working. They will desolder and come off fairly easily.
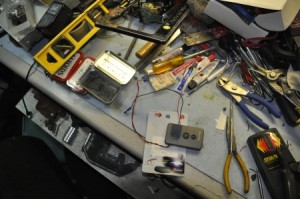
Here they are all assembled after soldering the wires on the boards. You may have to file some notches in the plastic for the wires to come out the side (I did).
I soldered the other ends of the wires to the push button switch leads and took it all out to the car. You have to route the switch plug up from the back and it is a bit tricky to get back in. You have to put the bottom part in first then push on the top to snap it in place (while not tearing the wires off). Here are some shots of the completed project. They are small and hard to see but that’s so you can see that it does not change the interior look too much. If you click the photos you will see the actual switches a bit closer and outlined in red on the closeups.

