With the purchase of my new Nissan Cube I seem to have been bitten by the mod obsession. I stumbled on the Nissan Cube Car Forum and it is one of the friendliest forums I have ever participated in. There is a ton of good information there on the Cube.
My recent purchase is a new billet grille off Ebay. This grille is about half the price of the T-Rex setup and although I am not familiar with the quality of the T-Rex the quality of this one is not bad. The mounting hardware was a little cheap but not bad.
If you have any model Nissan, and work on it, you can pick up the Field Service Manual for it here or here. It really helps to have this handy when you are tearing down. With the hood open you need to remove the top grille first. There are four clips at the top and four at the bottom.
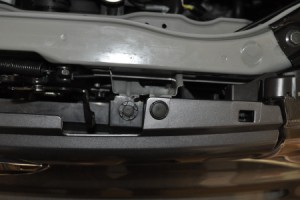
Here is a shot of the back side of the stock grille. Click the image for a close up shot so you can see the types of clips that are holding it on.
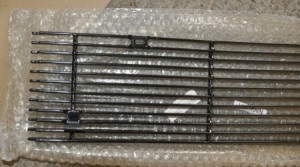
The new grille came wrapped and boxed really well. I was genuinely surprised at the shipping and packing for the price. It arrived in two days from the time I ordered it.
It was slightly bent when I unwrapped it but I was able to bend it back with no residual damage. Here are a couple shots of it unwrapped. It felt heavy but when I was bending it back you could feel that you could break it if you went too far, or the wrong way. Nothing I was concerned about but, like I said, I have never done a grille before so I don’t have any hardware to compare this to.
I installed the bottom three pieces first and they seem to fit like a glove. They just slid into their perspective spots. On the underside of the bumper, right on the lip of the bumper, there are four or five of the clips. If you remove those then remove four or five galvanized bolts just about four inches in from them. That allows the removal of a piece that is four to six inches wide and runs almost the length of the bumper. This gives you a nice three inch gap to get your hands up in there and it’s very straight forward to remove/replace. The two bolts on either end of it are hidden under another piece. To get to them you remove the outer two bolts that attach the bumper.
In the bag there are four sort of “S” shaped clips and two flat bar type clips. The two bar types are for the middle (top of the three longer) piece and the “S” shaped are for the lower two pieces. I played with all of them on the top grille and settled on the two bar type then realized, when doing the lower grille, that only the “S” type would fit there….ugh.
There really isn’t much more to the bottom three than that. The top however was a bit tougher. The auction said “bolt on, no drilling”….wrong ha, ha. The top piece appeared, at first, to be incorrect and looked like it would not fit. I went so far as to email the seller before I went back out and played with it a bit more. There is a piece of plastic protruding at the bottom where the bottom of the grill sits seen in this picture below as number “2” (larger picture only). It seemed like that piece stuck out too far. The stock grille slid under it. On the left and right (labeled “1” and “3” perspective) it appeared to be too wide. In short I just slowly applied force to the outer edges (taking care not to scratch my headlights) and pushed a bit harder gradually increasing the pressure so I didn’t break anything and it was slowly molding into place. In the end it was somewhat held in place by hardware but it worked out OK. The hardware for the top grille was several small clips, screws and two angle brackets. In area “6” and “7” on the picture I had to cut out a small piece of the plastic so the clip would slide down far enough to get where the grille was going to land. The clips provide support for the screws so they have something to grab onto. In the end you will put a clip at spot “4” and two at spot “5” (one at each mounting position). Do the same to the other side.
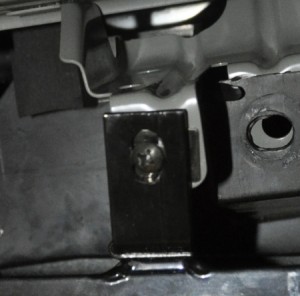
Here are two closeup shots of how I mounted it. Number “1” on the larger picture is where I cut out the plastic so the clip could slide on. Number “2” is the mounting clips I mentioned above.
This is the top mounted with the small angle bracket. Notice the clip slides over the stock mounting bracket so the screw has something to grab onto.
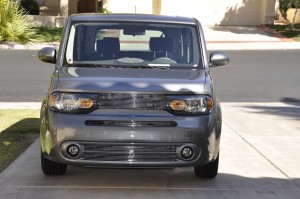
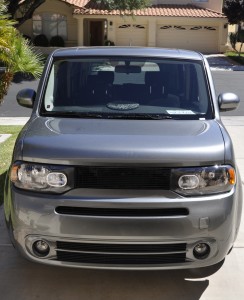
Well, I think that wraps it up. If I think of anything else, or there are any questions, I’ll update it. Here are some before and after shots.
OK, I just could not do the chrome thing. I did a matte black paint job on the grille and I like it.







9 thoughts on “Nissan Cube Billet Grille”