
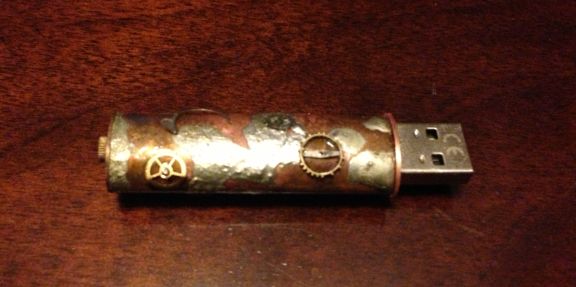
Recently my Son asked if we could make a USB thumbdrive enclosure that he saw on instructables.com. Neither of us had done any brazing before but we decide to take a stab at it. Here is the finished product:

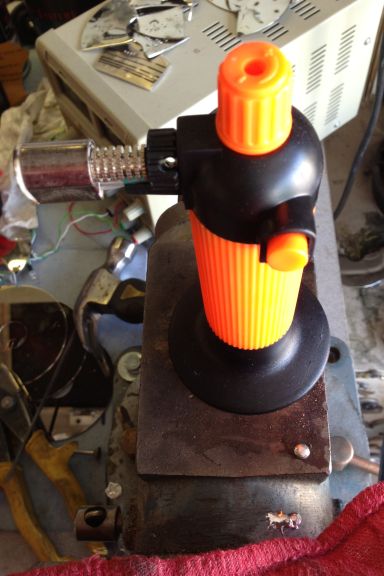
Once we started looking at what would be needed, we realized this was not going to be a same day project. While we do have an oxy acetylene setup it was a bit large, and my Son had yet to work with it, so we set out for some supplies to our favorite budget supply store (Harbor Freight). They had a “micro torch” on sale for $8.99. They are notorious for changing their web site around/discontinuing products so if the link is dead just search their site for “Torch” and the latest version should come up. The torch had decent reviews on-line, and we’ve used it a few times now with no issues. Not bad for 9 bucks. The torch runs on butane (picked it up at the local Wallgreens).
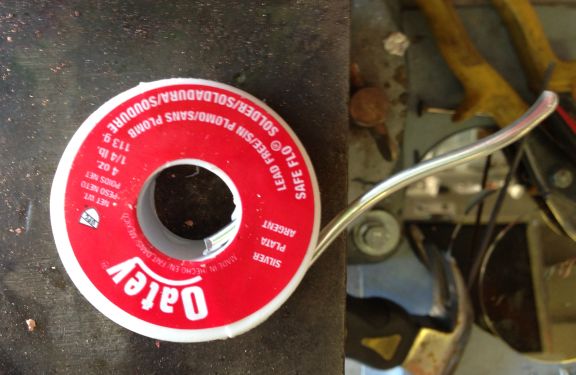
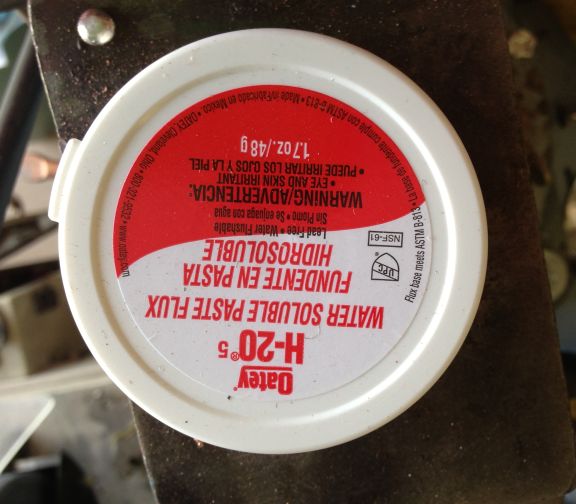
We also needed some copper tubing, silver solder and flux. Picked all these up at Home Depot. The Solder and flux came in a small kit from their “tool coral” and the copper tubing was a pre-cut 1/2″ x roughly 24″ piece they had in pluming.
Next we needed some “steampunk” accessories so we headed to Ebay. A quick search for “steampunk parts” turned up quite a bit.

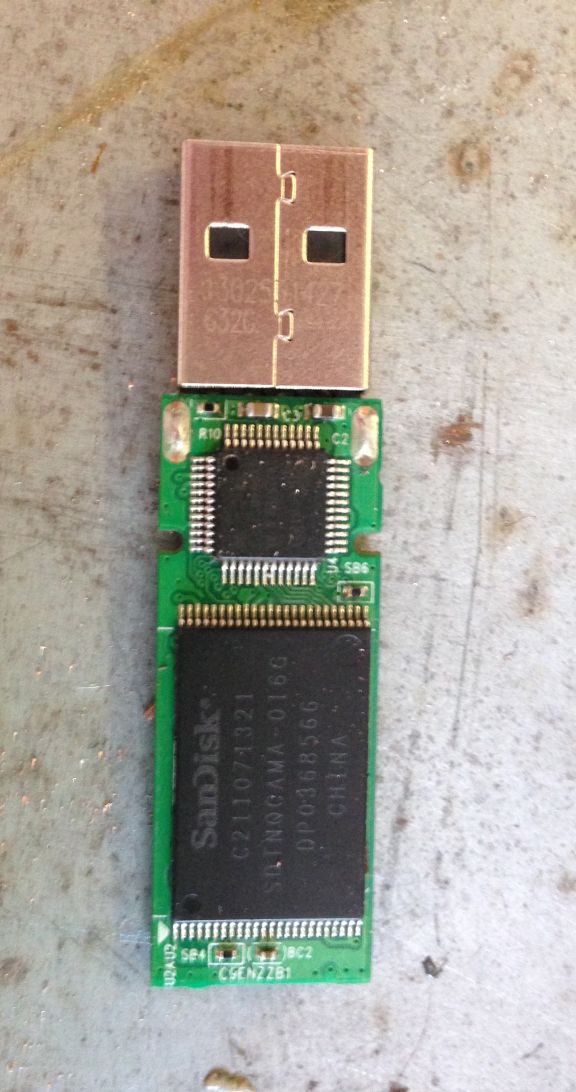
Finally, we needed an actual thumb drive to work with. Given the amount of effort, and the permanent nature of this project, a decent brand/size was a no brainer. The SanDisk Cruzer is a good model and 32 GB is about $15.00 on Amazon. It was fairly easy to remove the plastic case without damaging it.
The process was a play it by ear thing. We scrapped the first attempt because it ended up too short to fit the drive in properly.
We cut off a piece of the copper tubing long enough to be able to clean it up and have plenty of space left over. In the end it was about 1/4″ longer than it needed to be but we liked it.
We cut the copper tubing length wise right down the middle and took about 1/8″ total material out with a pair of tin snips. This allowed us to shape it into an oval and ended up with a smaller diameter than the original 1/2″ pipe. We then soldered the seam with the micro torch. Since this was our first attempt at any brazing we ended up dripping solder across the tube/body and it stuck to the copper where we had been exceptionally liberal with the flux. In the end, we decided it looked better with the solder dripped across it so we did the same thing in the second attempt. One note, in soldering the length of the tube, some solder seeped into the inside of the tube. In the first attempt the thumb drive did not fit inside after this happened and we had to file it down. This was a LOT of extra work that we avoided in the second attempt by being more careful with the flux and how much solder we piled on.
Now we had about a 2.5″ copper oval covered with silver solder dropped hap haphazardly across it. The next step was to cut another piece of copper pipe, about 1″ long, cut it down the middle as well and pound it flat on the anvil. From there we scribed a line on it that matched one end of our copper oval, cut it out and sanded it down. We soldered it to the end of the tube, then used the belt sander to better fit it to the end of the tube. In the process of soldering the cap on, some of the solder on the outside of the body had bunched up so we had to melt it smooth again. Sanding the end cap to fit the tube left a few spots that were too polished/new looking but we cleaned that up with the torch in the end. Here it is cleaning up the solder on the outside.

After it was all cleaned/dirtied up:

The next step was to glue some of our steampunk parts on the outside. The watch gears were extremely hardened and had small nubs in the center of both sides. We sanded those down with 220Â sandpaper. We used Harbor Freight’s quick drying epoxy to attach them and it seems to be holding well.

For the end cap that the USB drive will stick out off we cut off another piece of copper tube, cut it down the middle and pounded it flat. We used the USB drive to trace the size of the opening we’d need then drilled two small holes on the drill press. From there, we just filed out the opening to it fit around the USB connector. This end cap was finished just like the first only we did not solder it in place. The heat would destroy the thumb drive. This cap would be glued on in the end.

The final step was to first verify the thumb drive still fit inside the tube/body. Then, take the tube/body and fill it about half way up with hot glue. From there, we slid the thumb drive down inside to the desired depth (so the end was out far enough to plug into the computer). Hot glue dries pretty quickly so we only had to hold it for a minute or so. The rough finished end cap was slid into place and the drive was tested to verify it would fit, and be recognized, by the computer. We used the same quick trying epoxy to fill up the last 1/8″ or so at the top (we only filled it half way but inserting the thumb drive brought the glue level to about 1/8″ from the top). The quick drying epoxy will hold the end cap in place much better than the hot glue. The hot glue was just to keep the drive from moving inside the tube/body. We then, very carefully, cleaned up the final end cap. We knew we could not use the torch on it again, to give it that old look, so we were very careful not to scratch/scrape the outside of the body while cleaning up the end cap.
Here are some more pictures of the final product. He was pretty happy with our work.


Pingback: 100 Year Old Thumb Drive - Hacked Gadgets – DIY Tech Blog
Pingback: 100 Year Old Thumb Drive | Buying