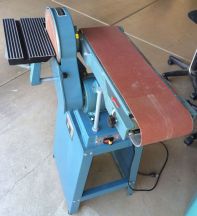
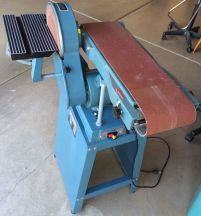
I’ve said it before, but I just love Craig’s List. This week’s find is an Enco sander on a stand. I had a much smaller Craftsman sander but I had been on the lookout for a larger, free standing sander. It was all there, and in amazing physical shape. It looks like it may have seen just a slight bit of weather but nothing to worry about. I was able to find a couple of links pointing to this sander and the reviews were all very positive. The retail prices on these sites were about a mile north of what ended up costing me.
Here’s a bit of info I found on it. There seem to be a couple model numbers that reference it. The first one is the model stamped on the sander. The second one here seems to point to this same sander.
Model 09514506
Model #163-4900
Some Specs:
Belt Length (Inch) 48
Belt Width (Inch) 6
Disc Diameter (Inch) 9
Phase 1
Belt Speed (ft/min) 1350.00
Horsepower (HP) 3/4
Voltage 115
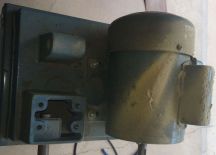
Below are some pictures of the tear down and clean up. It is made really well. All nuts and bolts were the same size (12mm), which is nice so you’re not swapping sockets/wrenches at every part. There are two different Hex/Allen key sizes needed 3mm and 4.5mm. Other than that, a Phillips head screwdriver and a compressor to blow it out and you’re all set. Don’t use the compressor to blow out around the motor or any other areas with bearings etc. This is just my opinion, but I believe you run the risk of blasting a piece of debris and wedging it in somewhere it can do some damage.
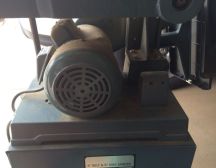
When I got it home, it was in good shape, just a little dirty really:
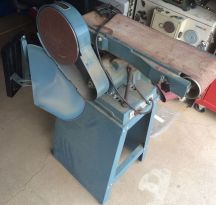
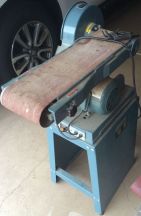
There was quite a bit of build-up around the rollers. I did not use the compressor to clean these out. While these are sealed bearings, I didn’t want to blast anything into the crevices:

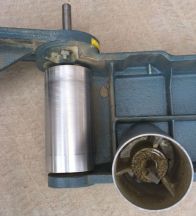
They cleaned up fine. You can see, there is little or no wear:
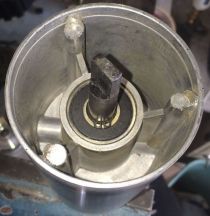
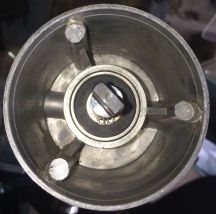
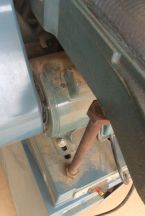
You can see here, there is a bit of surface rust on the support bolt and support bar.
Quick run through the brush and you can see there is little or no real damage:
![]()
![]()
Here is the support bar before and after its brushing:
![]()
![]()
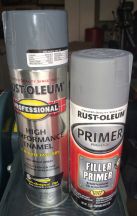
I typically use the Rust-Oleum paint and primer. You end up with a fairly tough surface and an enamel look:
First coat of primer and they’re already looking better:
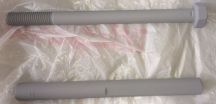
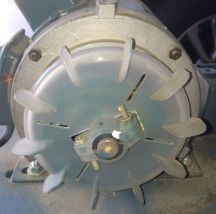
Here are a couple shots of the tear down:
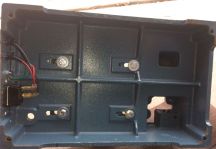
You can see that, where it matters, there is little use or weathering. I did not use the compressor here for reasons stated above:
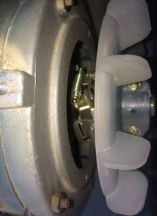
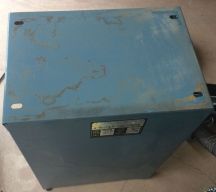
Like the rest, the stand was in good physical shape, just needed a bit of cleaning:
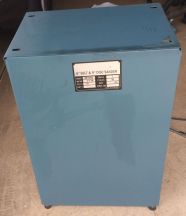
After:
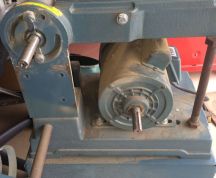
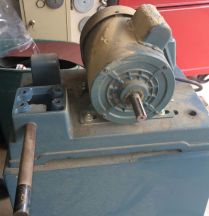
Where the motor sat on the base is where it looked the worst:
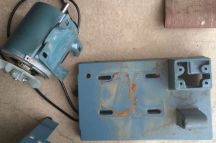
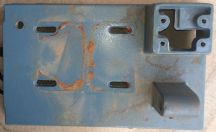
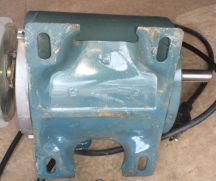
No real physical damage to the motor housing and the base cleaned up fine:
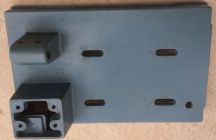
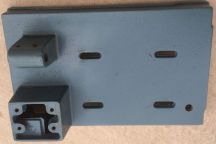
Putting it all back together was pretty straight forward:
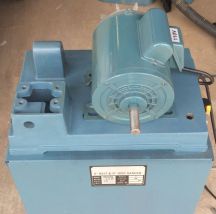
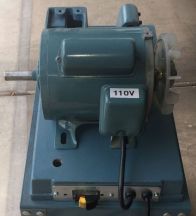

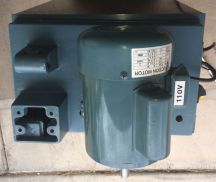
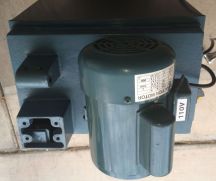
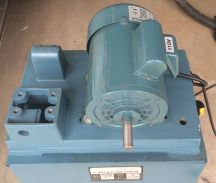
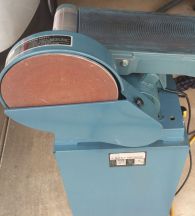
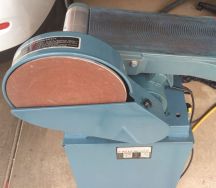
Finished it up and the whole process, not including the paint time, was about 2 hours:
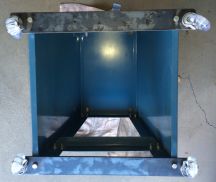
OK, after finishing this up, and looking for a place to put it, I’m realizing I’m starting to get cramped in the garage for space. I decided I would put some casters I had on it. This way I could roll it out to use it, then roll it back when I was done…bad idea. The weight was too much for the base to support the casters so it just bent them down, bummer. That’s OK, quick trip to Lowes and we’re back in business.
I picked up a 3′ long 3/16″ x 2″ piece of steel:
Cut it before I took the picture:


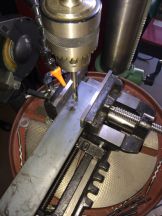
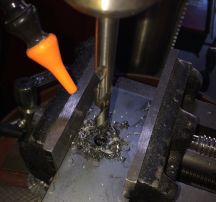
Cut it to fit, marked the spot to drill with a center punch and went to town:
After the drilling was done, put it all together, to make sure it fit alright:
Everything fit great, parts are being painted now. Stay tuned…

