
I went looking for some ideas on hacking my Creative Zen (non m / w) and I was surprised that there was very little info on it that I could find anyway. That being said it is getting a bit old I suppose. In short I decided to tear mine down and take some photos in case anyone was looking to see what makes it tick.
There are four screws on the back and two on the end where the compact flash card is inserted. It is important to lay these screws out in a pattern so you can get them back in the same holes they came out of as they are slightly different from screw to screw.
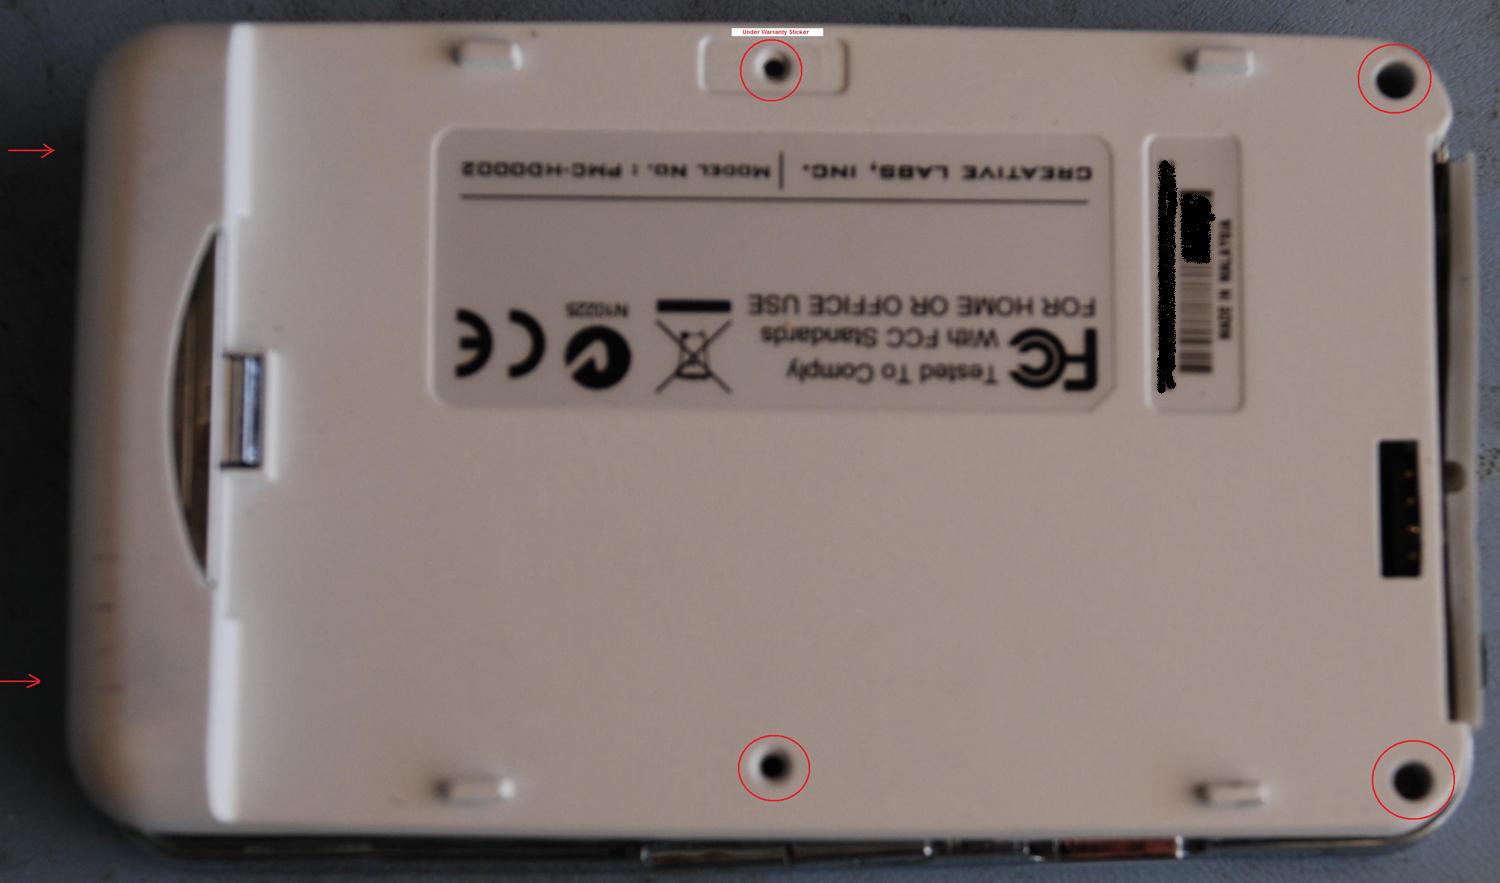
You will notice at the top there is a small “warranty void if removed” sticker there is a screw under it. They were actually fairly smart about it and they sliced it up a bit making it difficult to remove. If you Zen is still under warranty I’d be careful here.
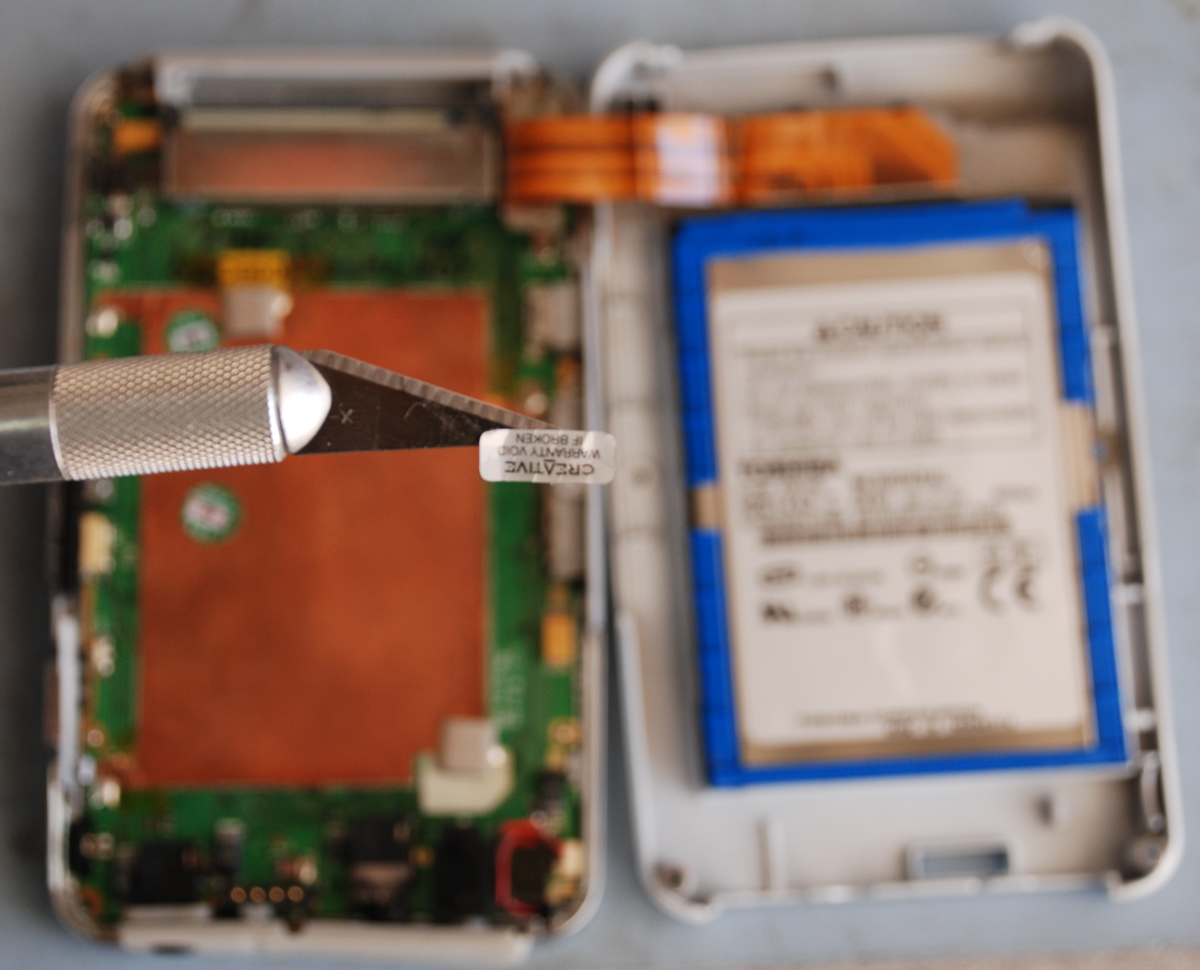
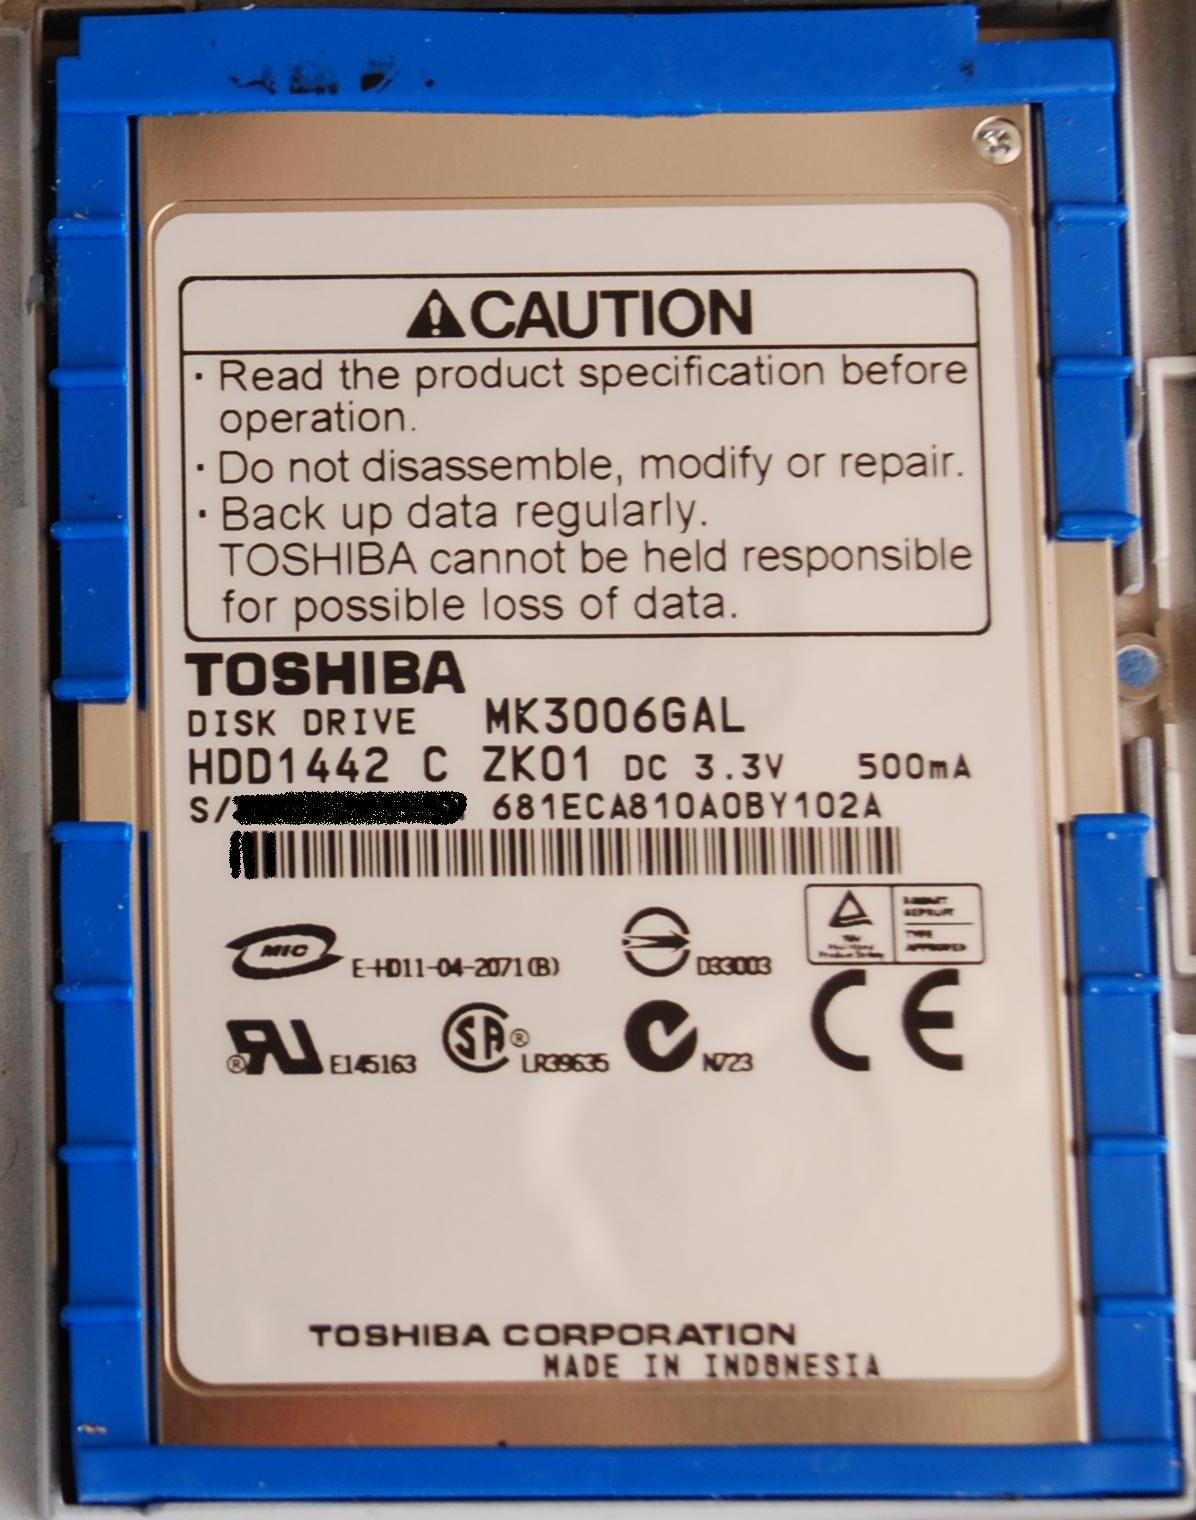
Once you have all the screws removed it comes apart fairly easy. I used a plastic ipod tool to separate it but a fingernail would work to. There are no surprise parts that fall out on you either which is nice. The power and volume buttons do come out but they are vary easy to get back in. The hard disk is connected with a small ribbon cable that will come off the system board with little trouble. I have to say I have not run across a drive like this in the past. My hope was to find a replacement a bit larger than 30 Gigabytes.
The system board has four screws holding it to the housing. There is also the speaker connector that will need to be removed. I used an X-acto knife to pry it out as I could not get a good bite on it with the needle nose.

Once you remove the four screws and the speaker connection the front LCD bezel can be separated very much the same way you separated the two halfs.

Once you remove the LCD bezel the screen will come free from the body so be careful there.
Front:

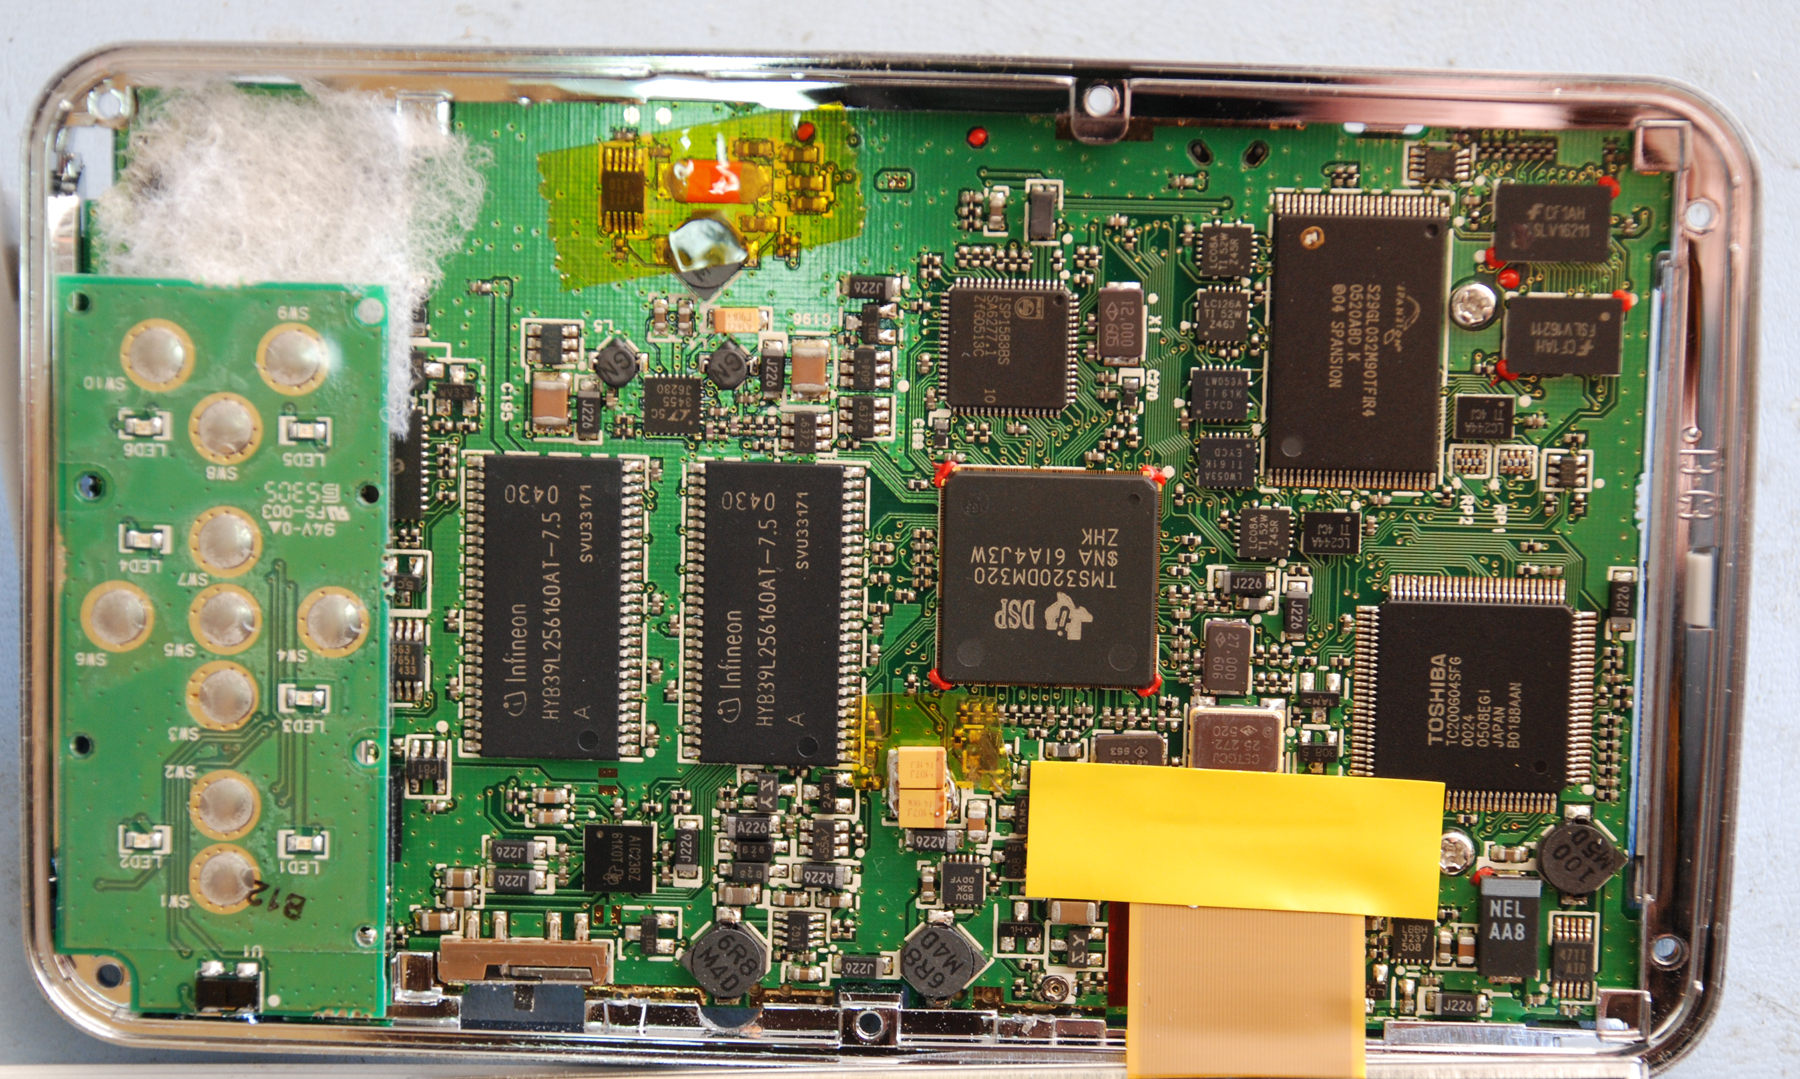
Back:

The back side of the system board with the LCD still connected. I did not attempt to remove the yellow tape and disconnect the LCD ribbon.
The re-assembly is pretty straight forward if you laied out all the screws in a pattern that you can follow when putting them back. The power / volume buttons fit in place very easily there were no tight fits at all. This was an easy tear down.
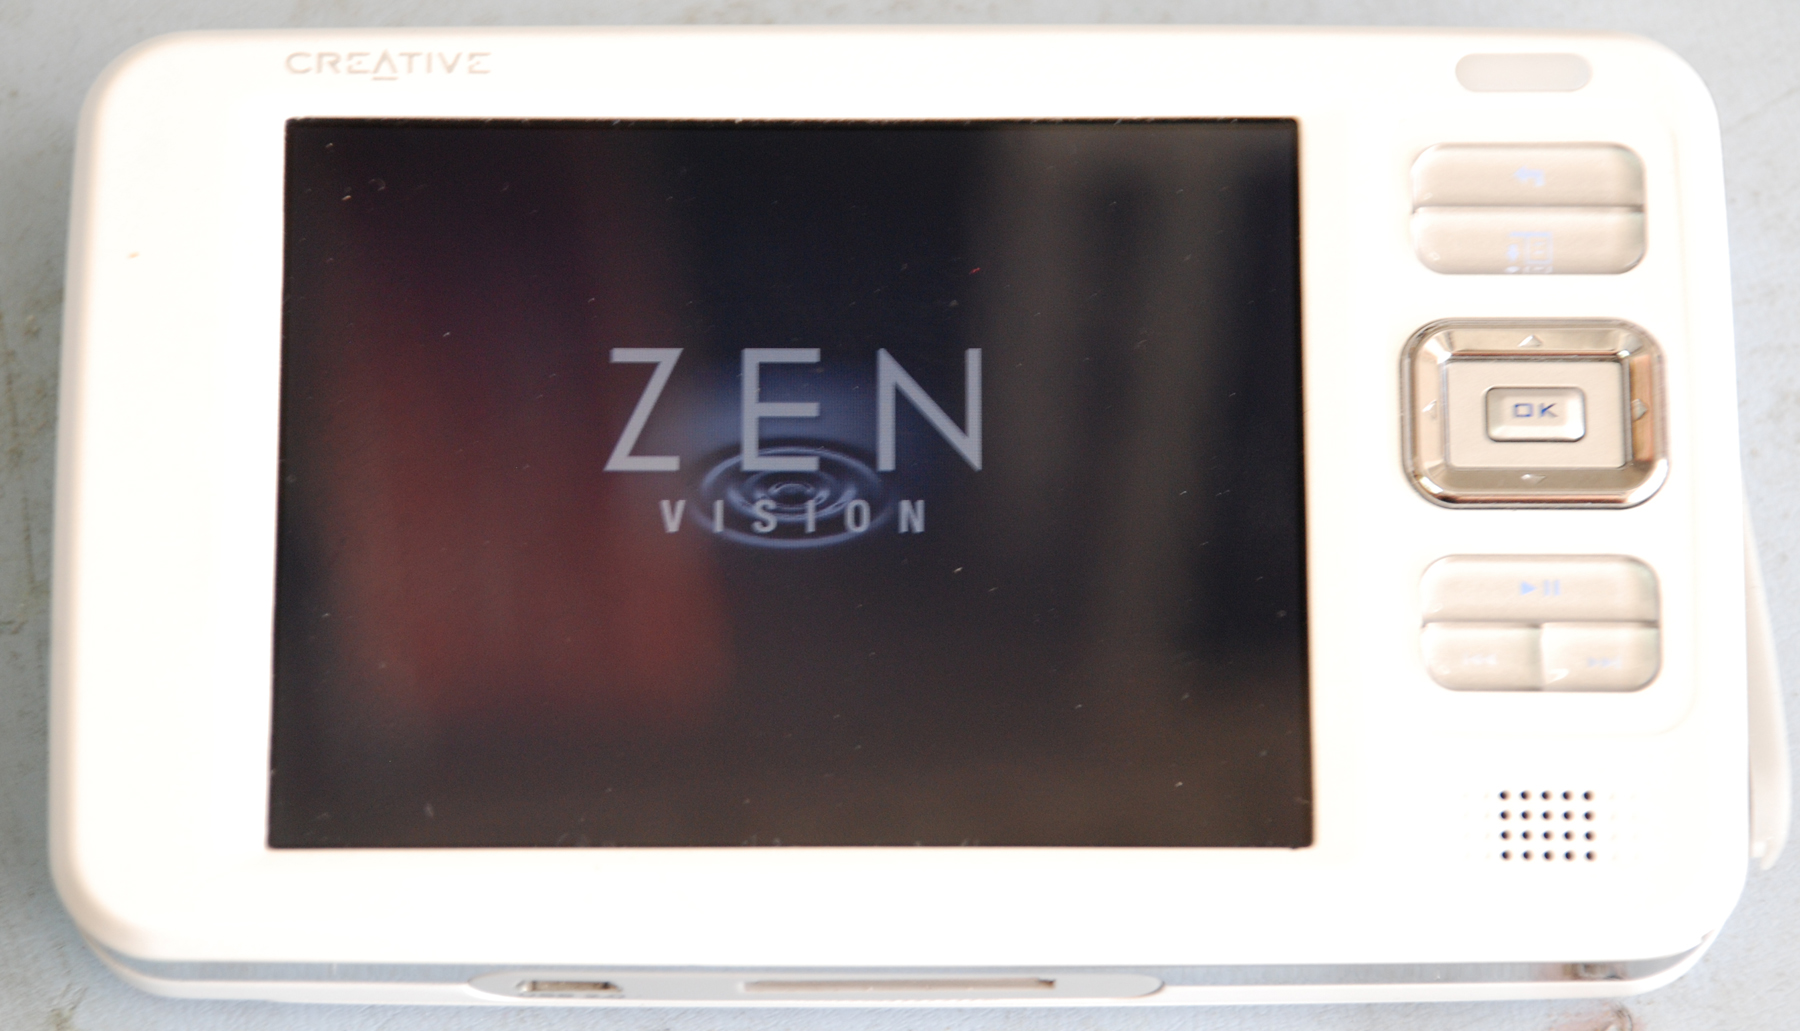
You can see I was able to put the warranty sticker back in place and it doesn’t look horrible haha not sure if it would pass inspection though. Here are some shots of the sticker in place, the unit powering up and a list of some Zen Casts recently added.
Warranty Sticker:

Powering On:
Zen Casts:
