OK, first I want to start by saying this is NOT my best work ha, ha. Our neighbor brought over their laptop because they were having issues. After a quick look the center pin, for the power plug, broke off in the power supply. I was unable to dig it out for the life of me so I figured I would just have them buy a new power supply. I could then just solder a new power plug on the mother board and be on our mary way.
Well as they say “the best laid plans of mice and men”. I can’t tell you what that means but I can tell you that the above mentioned plans were scrapped shortly after I tore down the laptop so I’m sure it applies somehow.
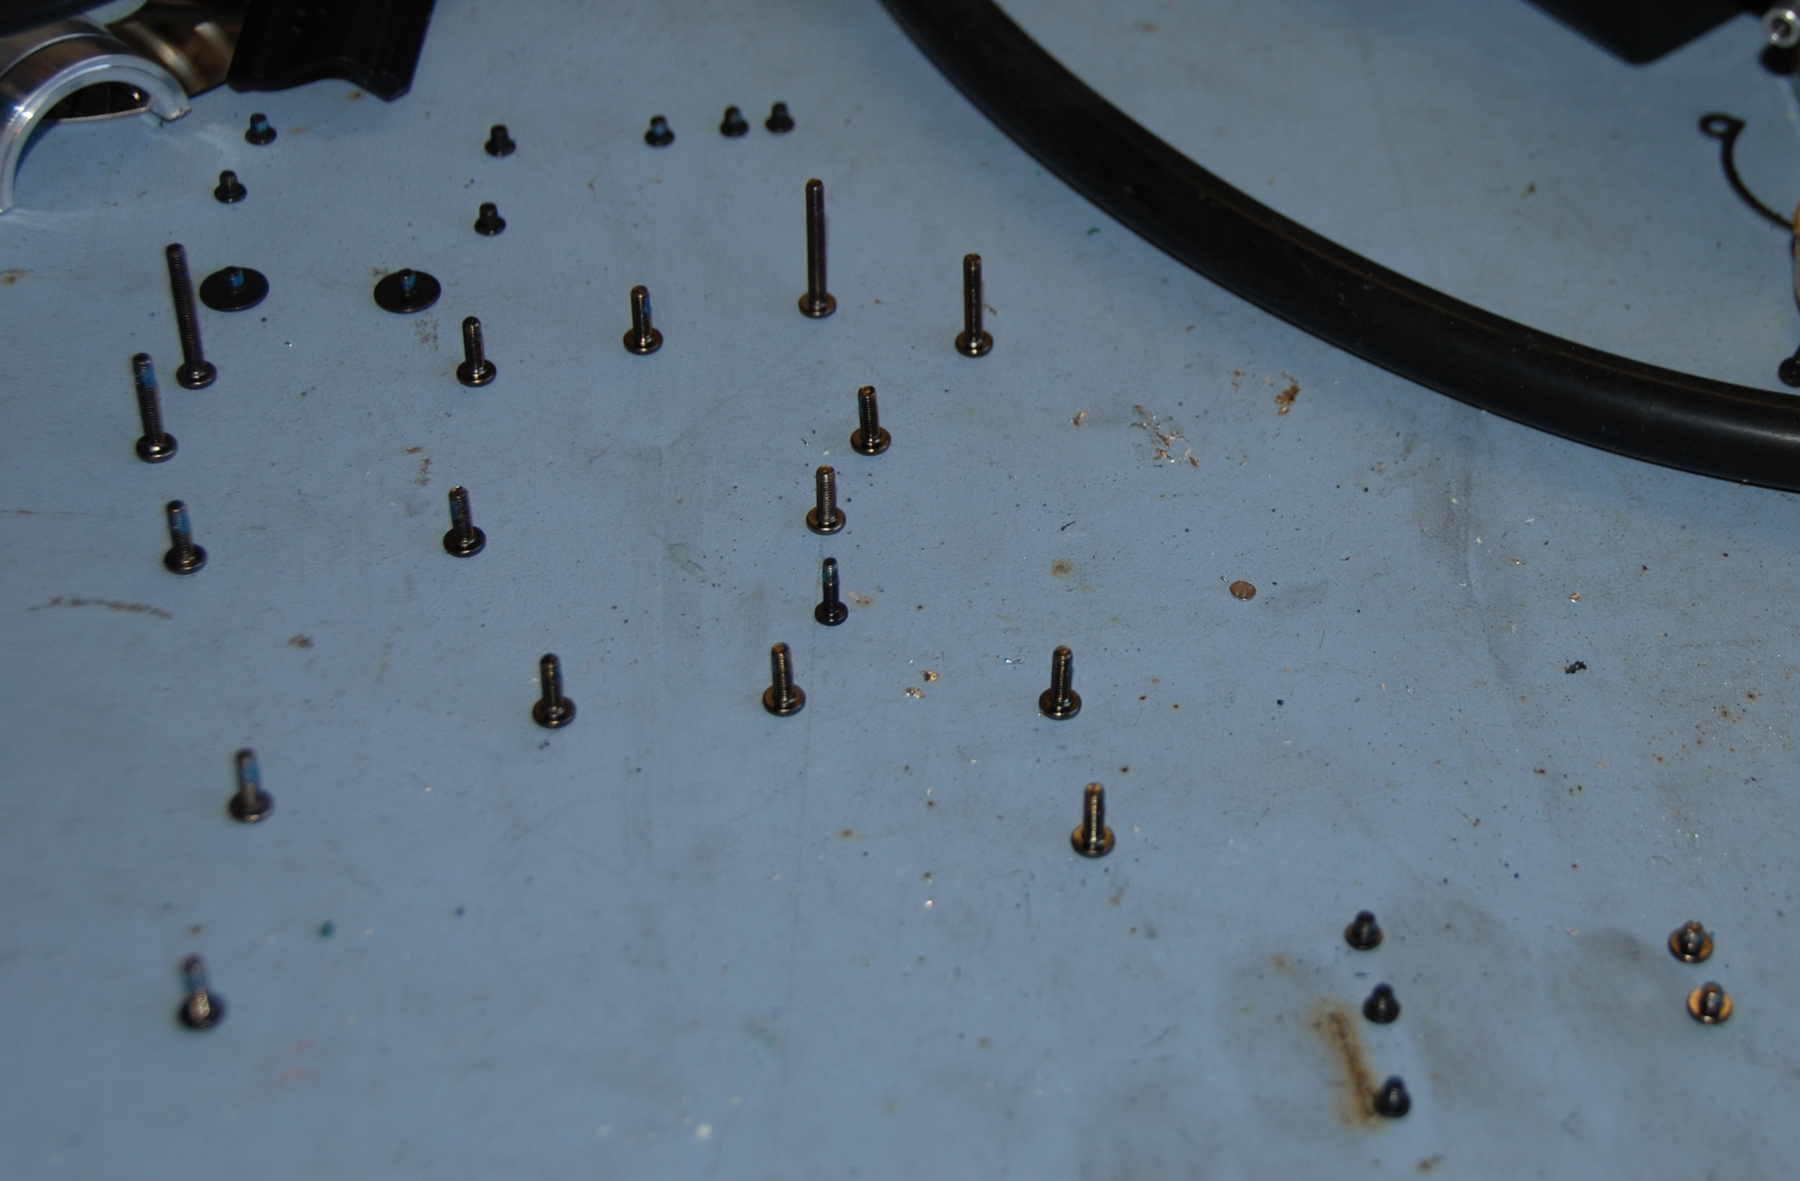
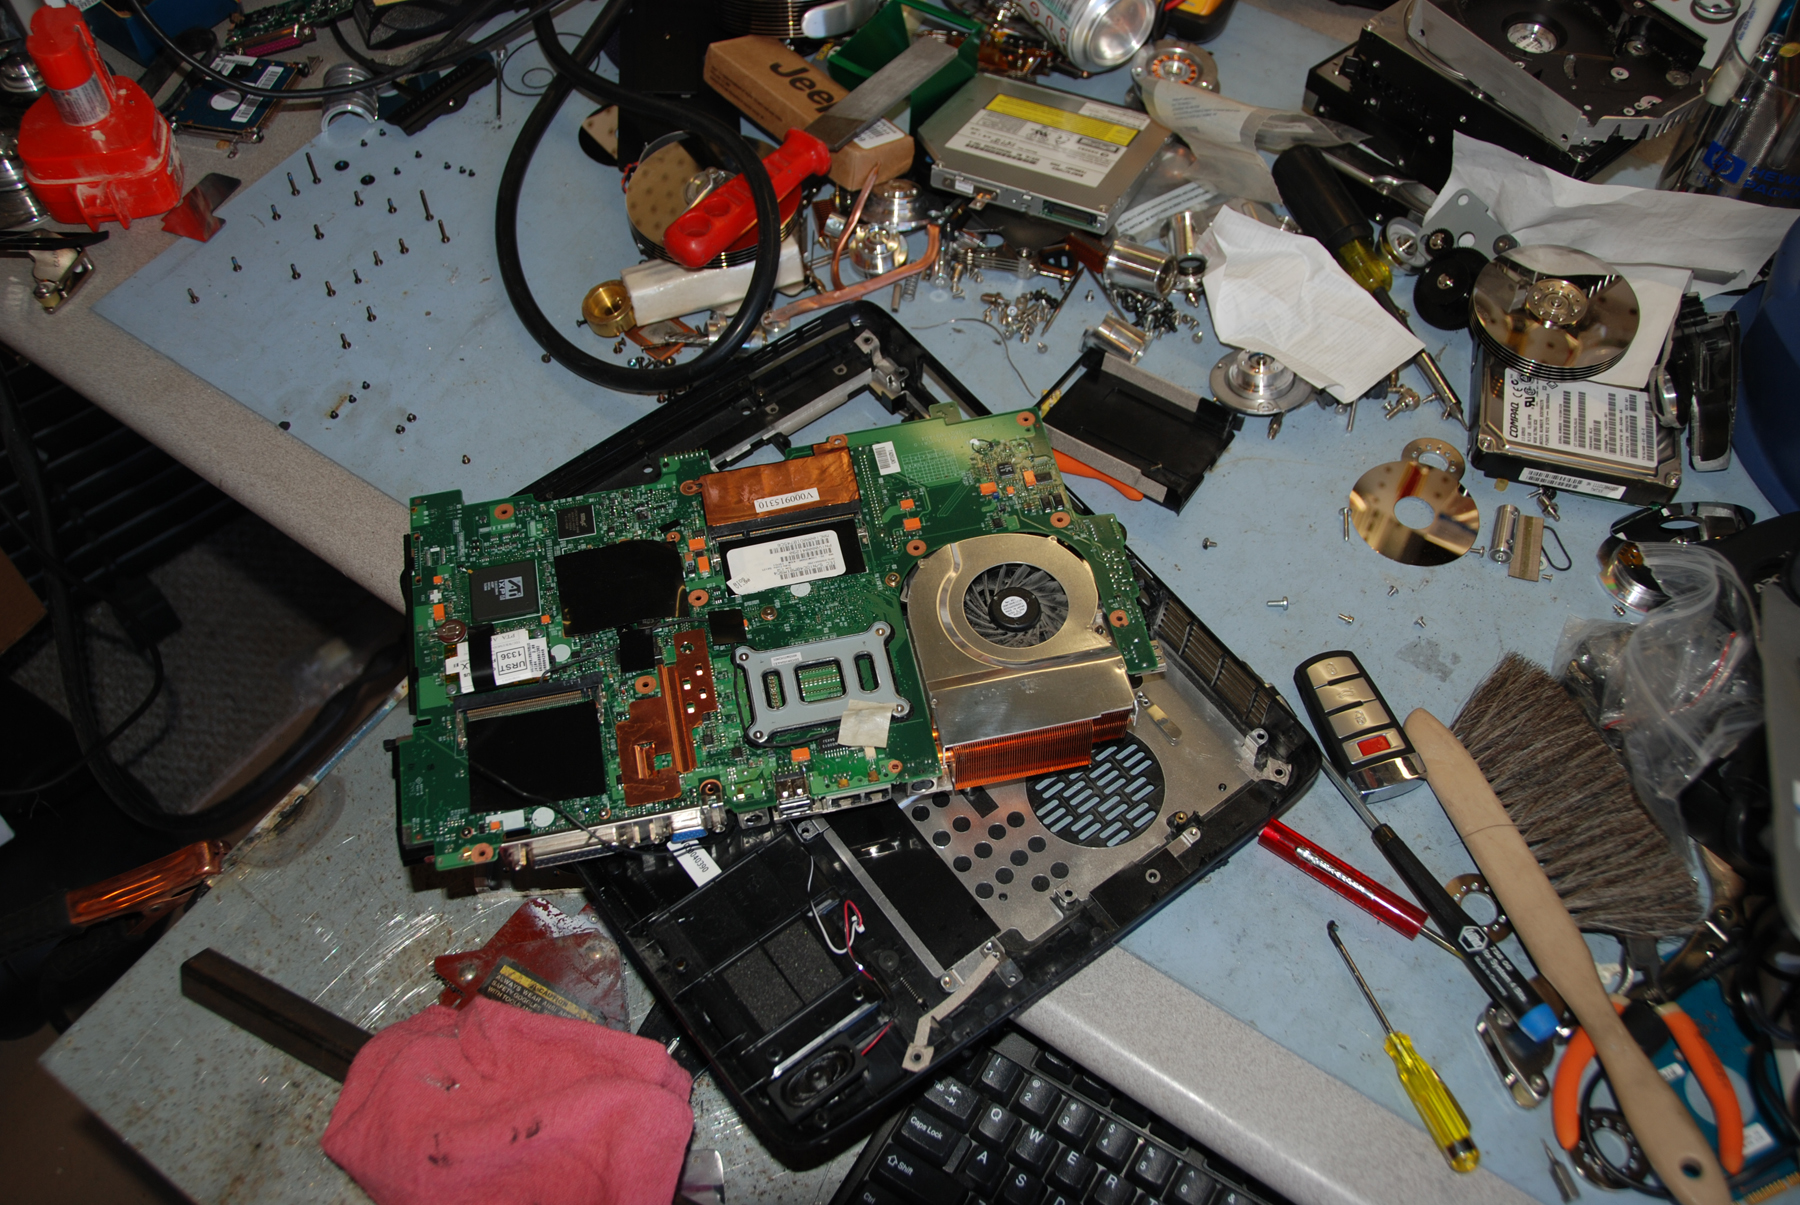
First there are a few things, if you ever plan on tearing down this laptop, that you might find helpful. The screws holding it together came in five or six different sizes so I strongly recommend laying them out in a way that will let you get them back where they belong.
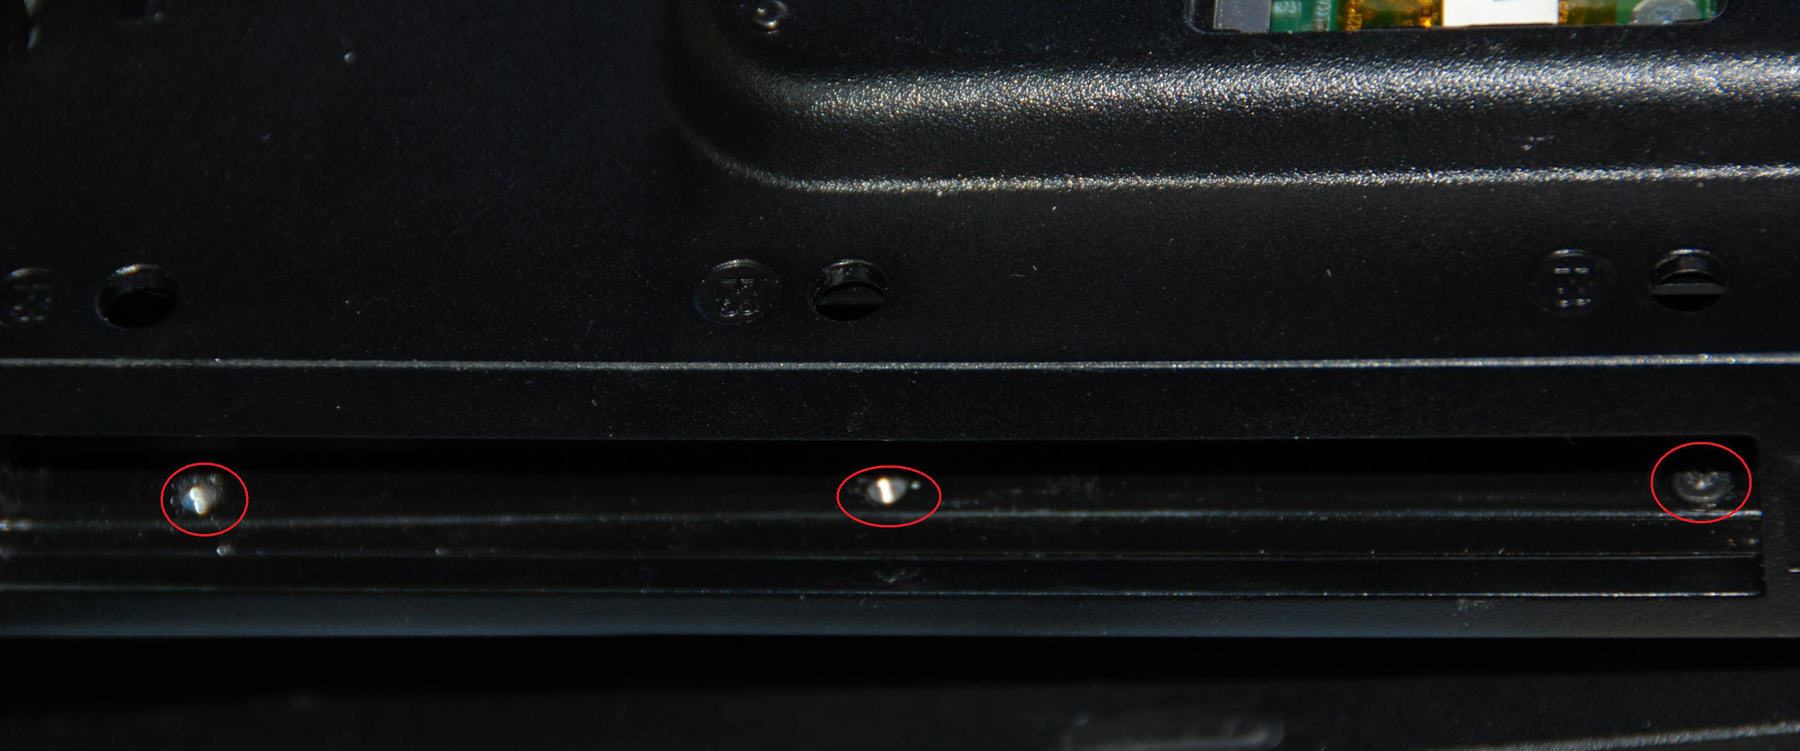
Another potential snag is three screws that are under the CDROM drive. It has to be removed before you can remove the three screws.
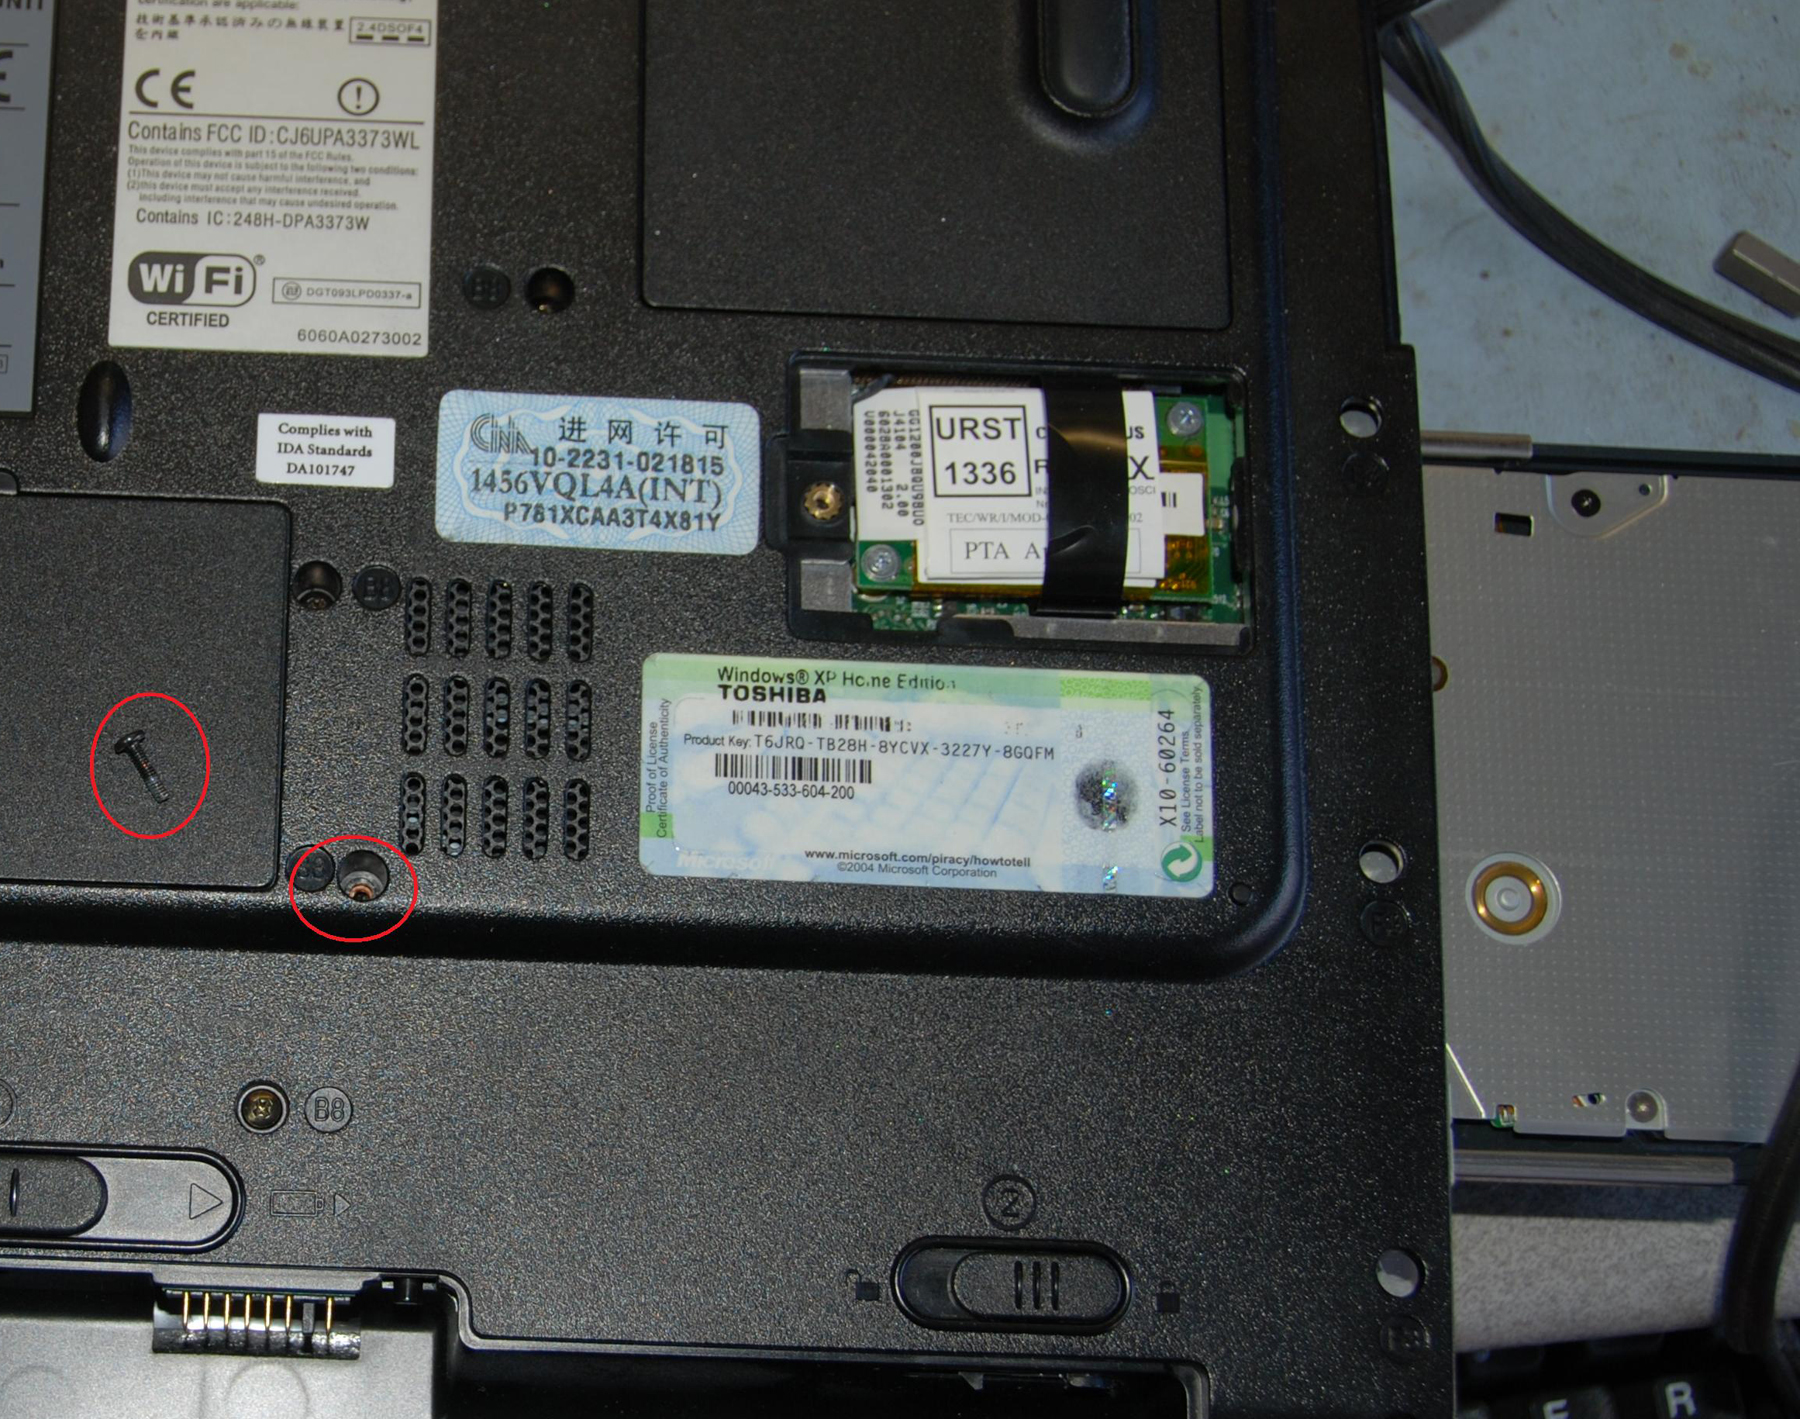
To remove the CDROM there is a small screw on the underside that appears much like the rest. Once it is removed you can press the release lock on the CDROM door and gently pull the entire drive out.
I also had a close call with removing the motherboard and the WiFi switch on the side. It just pops out but I didn’t realize how secure it was in there until I almost broke it. Make sure to pop it off from the outside and not by just removing the board.
Once you have all the screws out of the back you turn it over, and pry off the plastic bezel around the power switch. Just start at one side and gently pry it up. Under the bezel you will find two screws holding down the keyboard. Remove those and gently slide it forward towards the monitor. There are three spots that the top half of the laptop chassis are attached to the bottom half in one form or another.

I always imagine people walking up right about now and I say “Yeah, I guess this is a little harder than I expected. Do you have anyone else who might be able to help with this?”.
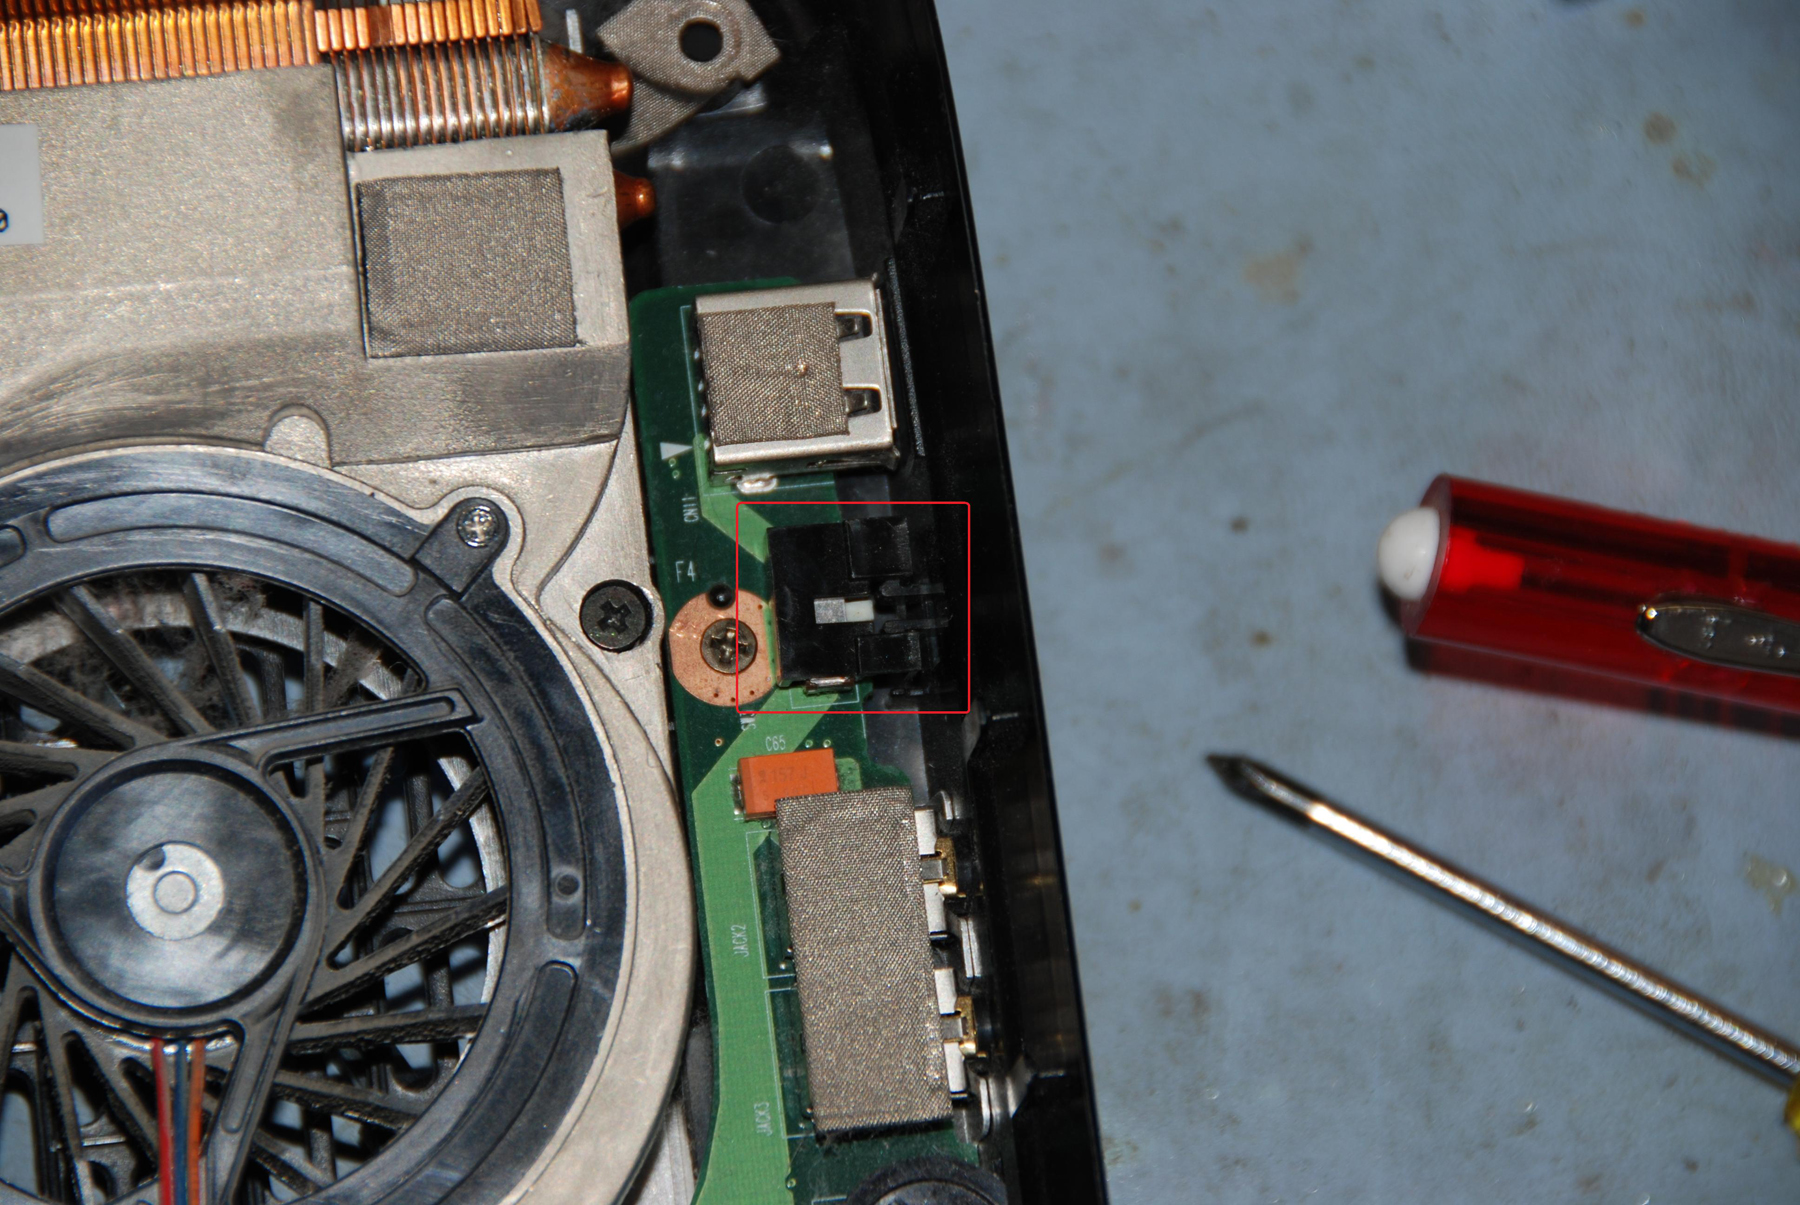
Now for the part where the plans start to go awry. After pulling the board out and looking under the power plug there were a couple of surface mount parts very close to the solder points for the power plug. Well, I am adventurous but I’m pretty sure I would have sent them blowing across the board if I had tried to desolder that power plug. As I’m sure you have figured out, as I speak in past tense about removing the power plug, I opted to try a different approach.
If this had been my laptop I would have done it but I was not positive I could remove the plug without damaging the other parts. It’s at this point that my quick fix slash be the hero slash whatever took a turn for the worse into “here is your Frankenstein laptop that I….um…..fixed? for you.
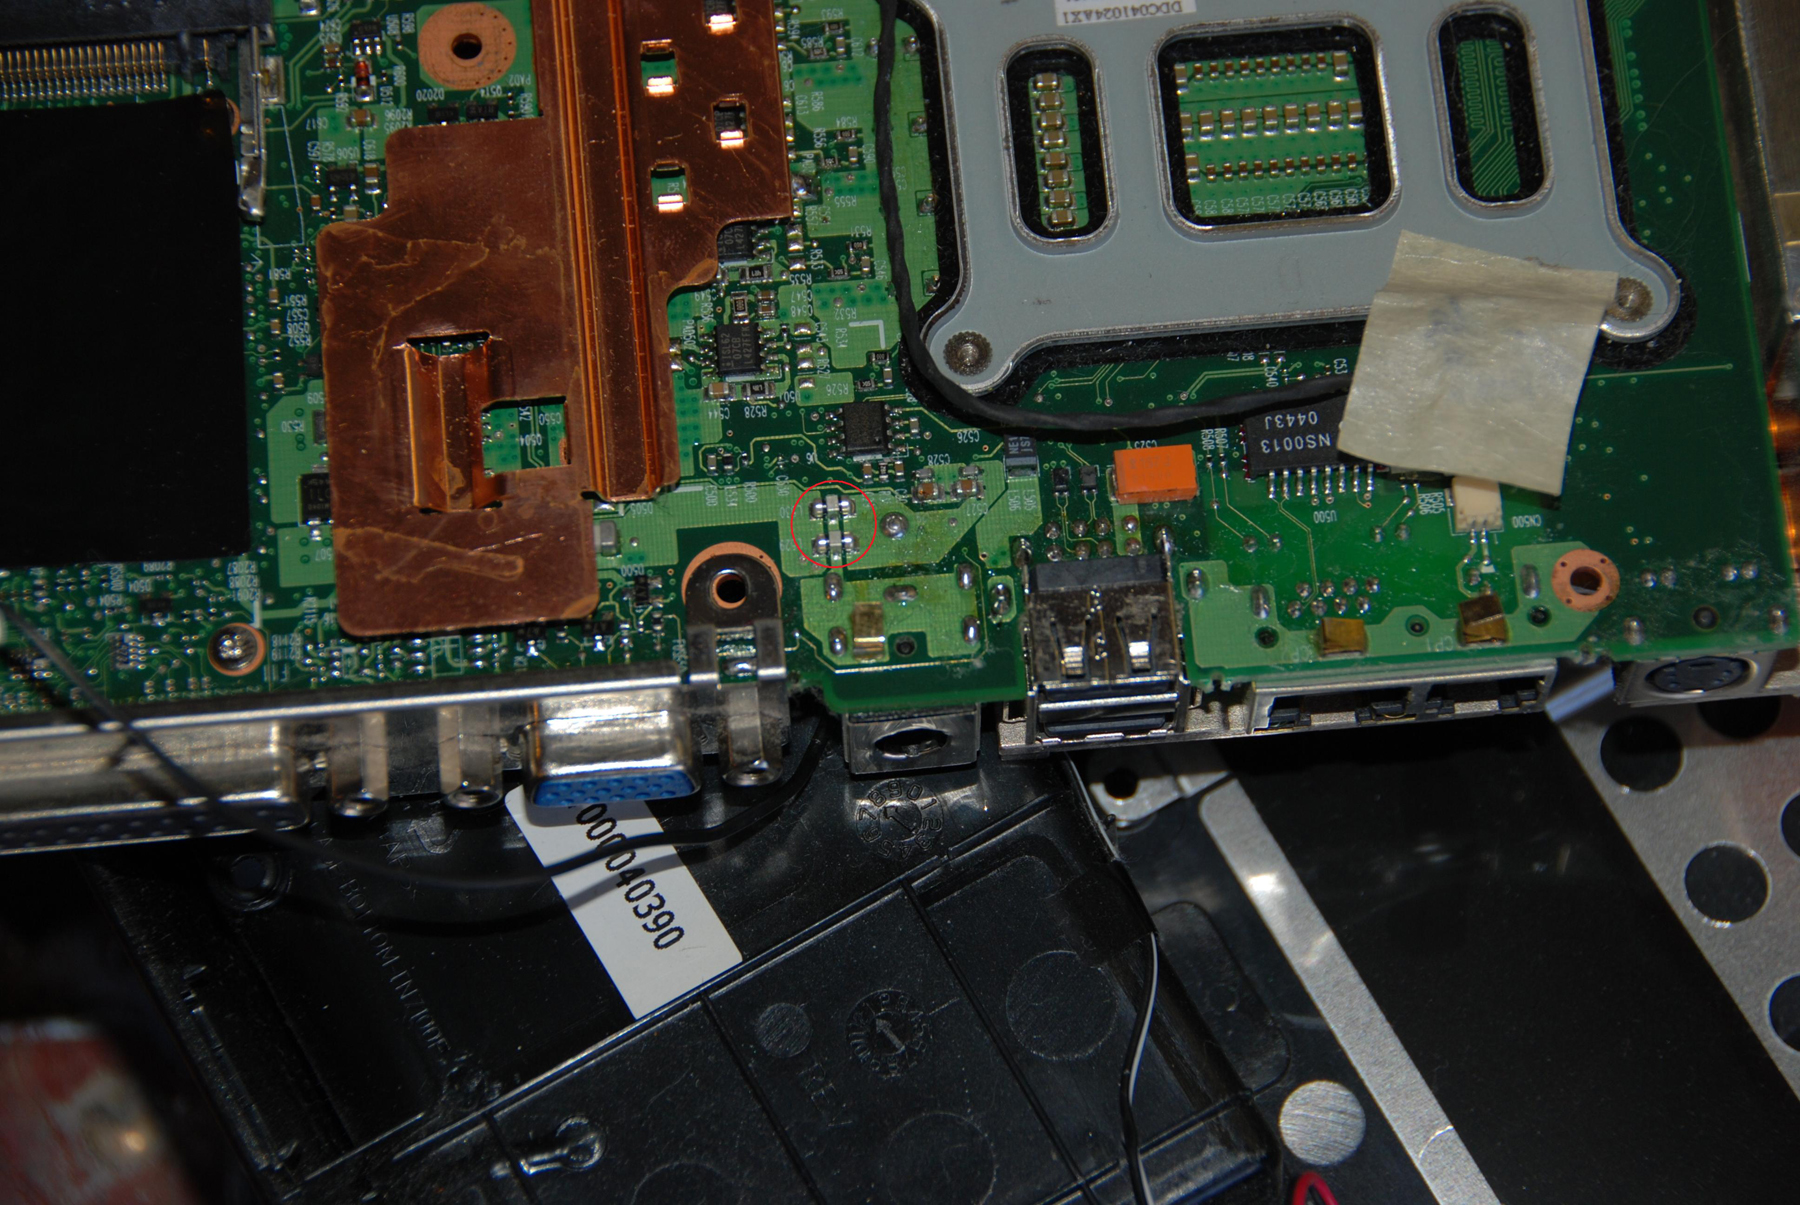
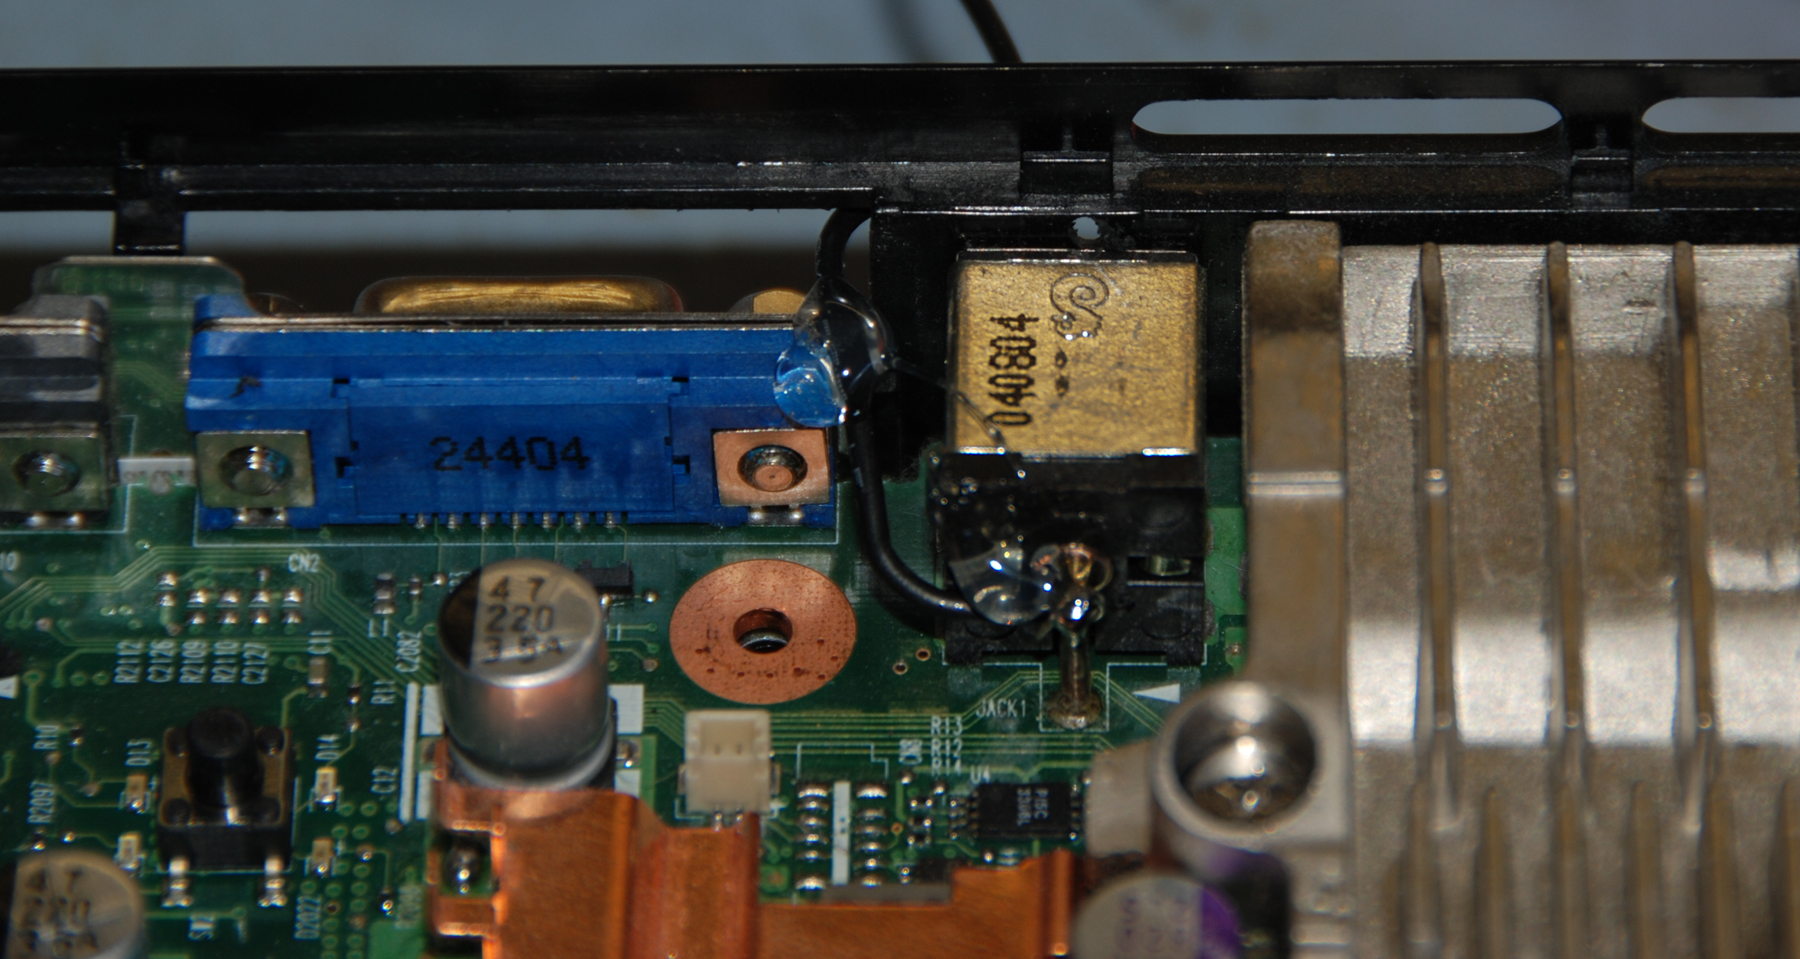
As a work around, for my lack of faith in my de-soldering abilities, I dremeled a small hole above the power plug, soldered a solid core wire to the center pin, and routed it through the dremel hole. As you can see I was going to route the wire through the serial port opening but decided to at least be a little cleaner. I used a couple spots of hot glue to help hold it in place. sad, I know but we were on our way.


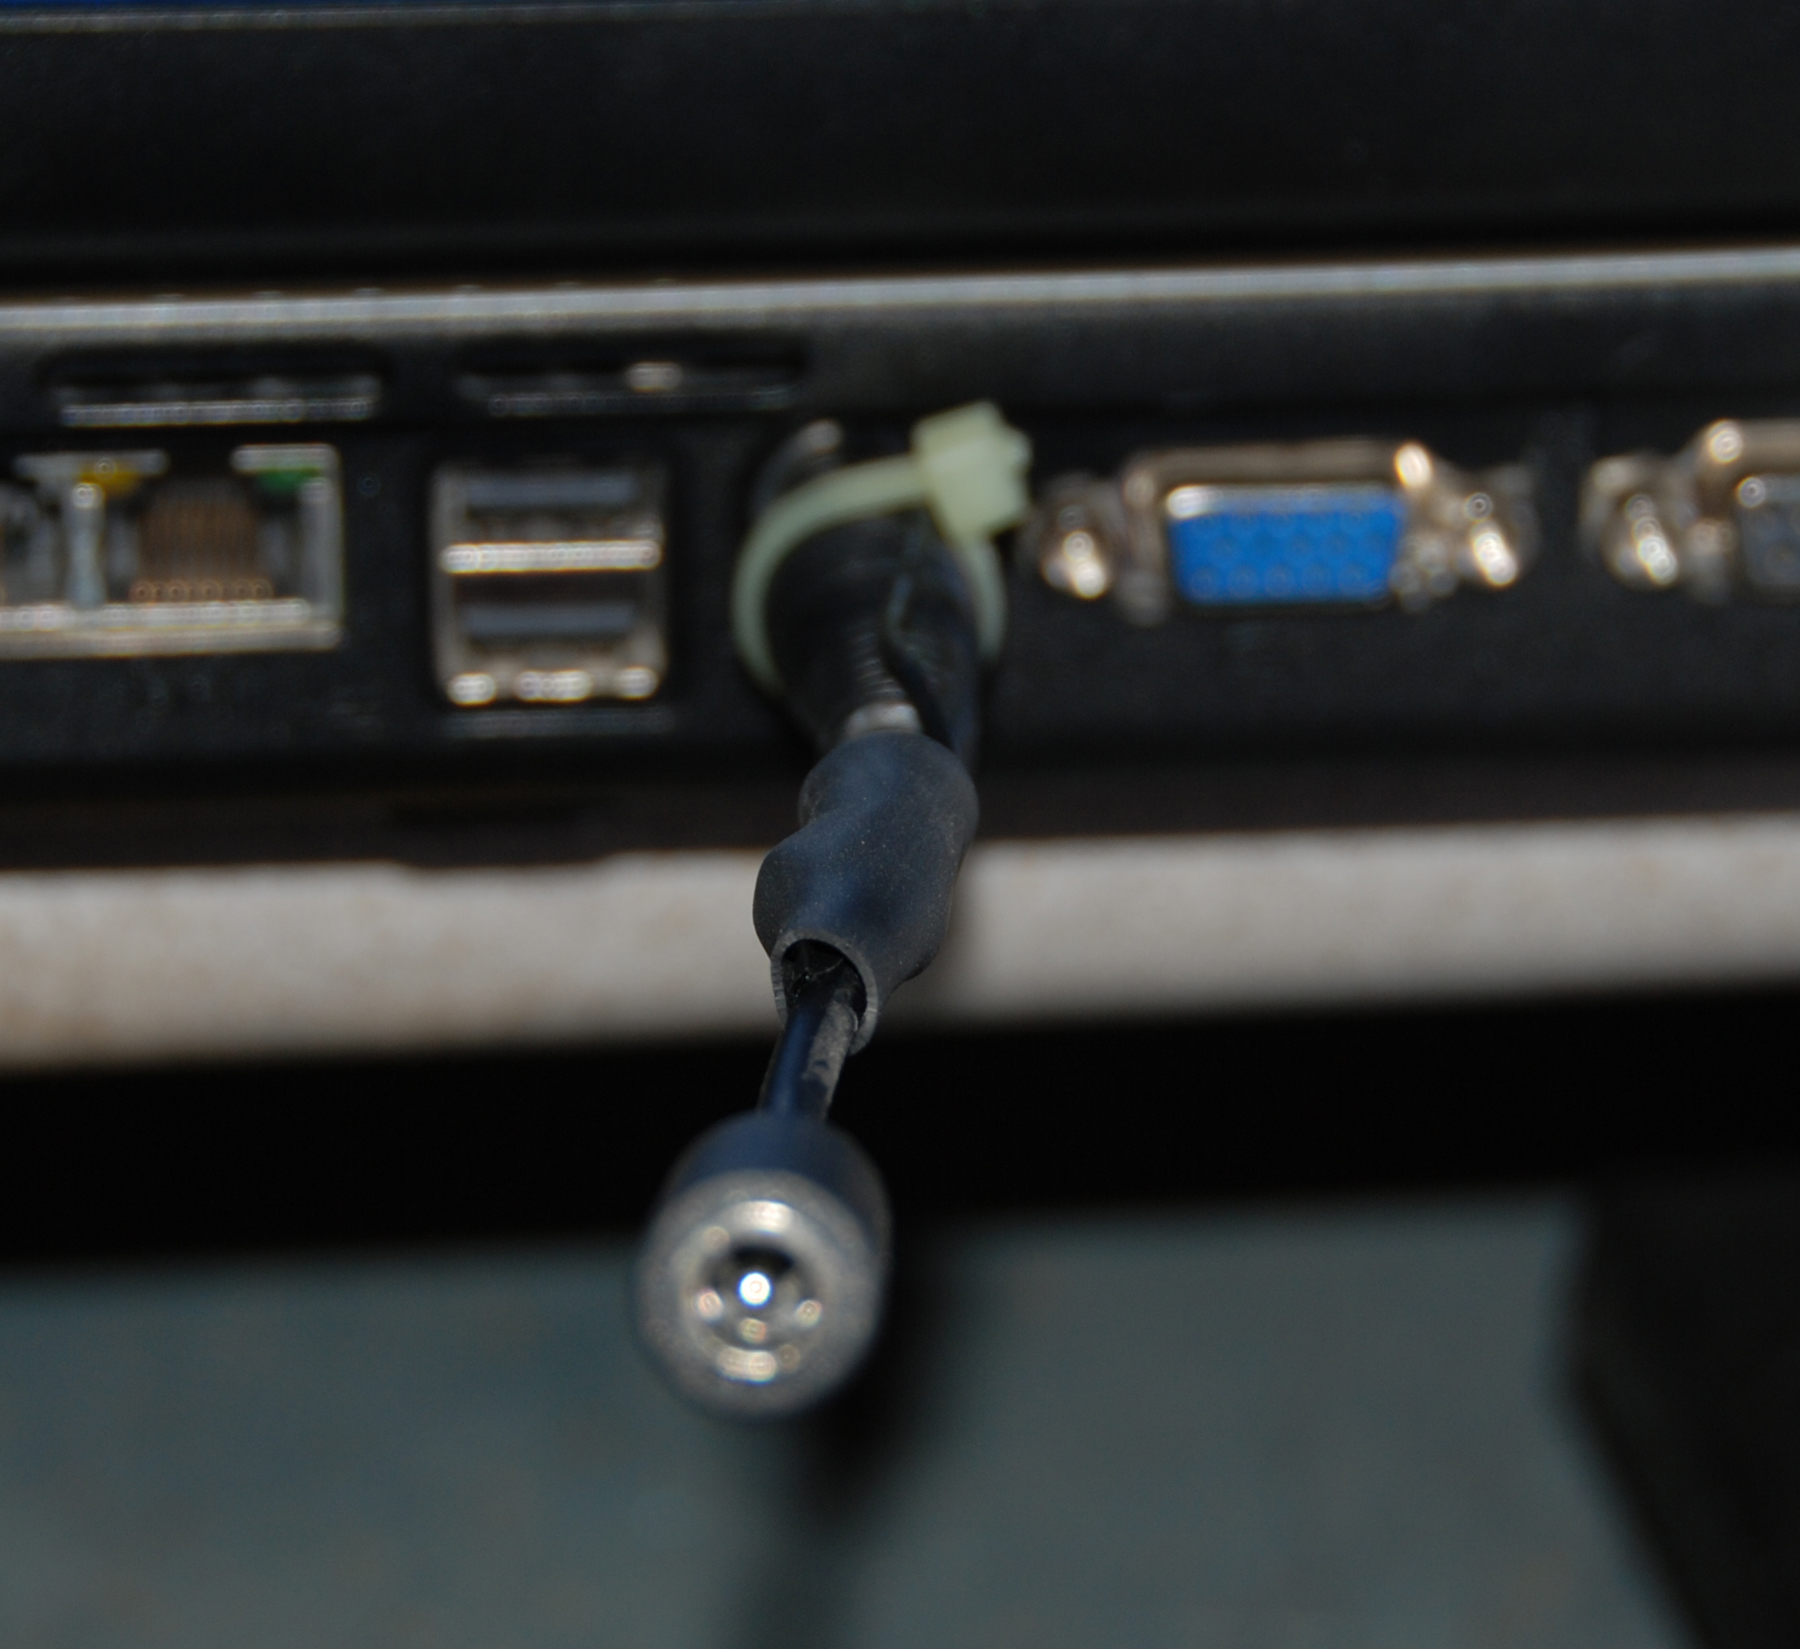
So I routed the solid core wire that I soldered to the power plug through the hole. I then cut the power supply right at the end and started to splice it all together. I found an old Palm cradle that had a nice plug I could use as a coupler. The end result is a cable that sticks out from the back of the laptop about two inches. To plug in the power supply you just plug it into that cable.
I know, like I said not my best work. The laptop is up and running though so technically it is “fixed” just not pretty and probably not all that sound.